FAQ
Quick Links
I bought a replacement frame. How can I remove the lenses to switch the frame?
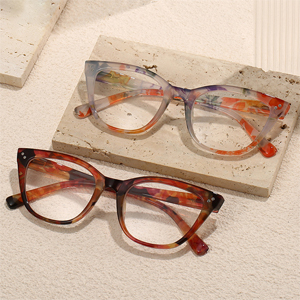
Frames at Zinff will be renewed and re-designed once in a while. So there might be a little difference between these frames.
If you want to order one more frame as a backup, we recommend you ordering the frame with your glasses at the same time.
You can pop out the lenses by the following steps. Please note do not push the lenses by force if you cannot pop them out or install them back.
For Plastic Frame
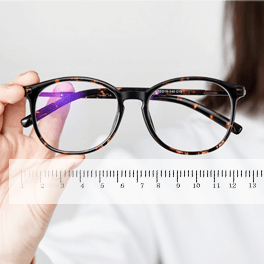
Step 1: Double-check if there are any small screws on the back of the lenses and the frame sides holding the lenses in place. The lens screws are not the same as the ones that hold the arms on. Not all plastic frames have screws.
Step 2: Remove the lens screws, if present, using the eyeglass screwdriver to turn the screws counterclockwise. It may take a bit of effort, especially if this is your first time to remove the screws. Set the screws aside in a safe place.
Step 3: If your room temperature is very low, you may need to warm your glasses frame up a little bit first. Run the front of your glasses frame under warm water (90-100℉/30-37℃). Do not use hot water because overheating will get your lens and frame damaged.
Step 4: Dry your glasses with Zinff microfiber cloth and wrap the lens with it when removing the lenses. Let's start popping out the lenses one by one!
Grasp the left side of the frame in your left hand with the lenses facing downward. Put your left thumb against the right side of the bridge (in case you break the frame from the bridge).
Hold the right side of the frame in your right hand with your right thumb against the top center of the back of the lenses. Push firmly to pop the right lens out with your right thumb. Do not force the lens out.
After removing the right lens, put your hands and thumbs in the opposite positions to remove the left lens.
After you pop out the lenses, you need to install the lenses into the new frame.
For Metal Frame
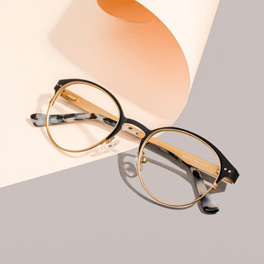
Step 1: Locate the small screws holding the lenses. The location of the screws depends on the style of your frame. First, check on the inside of your frame to see if there are two screws on the nose bridge. If not, look on the sides of your frames underneath the arm hinges for the screw. If you still can't find screws there, check along the bottom rim around your lenses to see if the screws are hidden there.
Step 2: Remove the lens screws, if present, using the eyeglass screwdriver to turn the screws counterclockwise. This may take a bit of effort, especially if this is the first time the screws have been removed. Set the screws aside in a safe place.
Step 3: Wrap the lenses with Zinff microfiber cloth, so you don't get fingerprints on them. Remove the lenses one by one.
Grasp the left side of the frame in your left hand with the lenses facing downward. Put your left thumb against the right side of the bridge (in case you break the frame from the bridge).
Hold the right side of the frame in your right hand with your right thumb in the top center of the back of the lenses. Push firmly to pop the right lens out with your right thumb. Do not force the lens out.
After removing the right lens, put your hands and thumbs in the opposite positions to remove the left lens.
Step 4: After you remove all the lenses from the frame, you need to install the lenses into the new frame, and don't forget to install the screws back to your frame.


